Hallo!
Die meisten von Euch werden, so wie ich (
Bianca), meistens basteln um zu verschenken. Dieses mal basteln wir aber für uns!
***
Hi!
Most of us including me (Bianca) are crafting for giving it to someone of our friends and family. But this time we are crafting just for us.
Dieses praktische und zugleich so hübsche Mäppchen ist perfekt geeignet um eure selbst gebastelten Karten darin aufzubewahren bis sie gebraucht werden.
***
This fab wallet is perfect for storing all your pretty cards before you will give them away.
Folgendes Material braucht ihr dafür:
* Cardstock zugeschnitten auf 39 x 24cm
* 6 Kuverts im Format C4 (ca. 15 x 23cm)
* Klebstoff
* Schleifenband
* Falzbrett
* Motiv, Deko und Designpapier nach Wunsch
***
You will need:
* cardstock size 9 1/2" x 15 2/8"
* 6 envelopes size C4 (about 6" x 9 1/8")
* glue
* ribbon
* score pal
* image, deco and designpapers
Wir beginnen damit alle Kuverts oben zu zu kleben und danach an dieser Kante oben wieder auf zu schneiden. Ja, das hört sich seltsam an, aber wir brauchen das wirklich so! Ich benutze zusätzlich Klebstoff, weil das wirklich stabil sein muss. Wenn eure Kuverts eine Spitze als Klappe haben funktioniert es auch, die Form spielt keine Rolle!
***
Let's start with closing all our envelopes and cutting the upside open after it. Yes, this sound strange but we really need it like this. I also use some fluid glue to close my envelopes as this must be really stable. If you have envelopes with another shape of flap this will work, too!
Während der Kleber trocknet machen wir mit dem Außenteil des Mäppchens weiter. Das fertig zugeschnittene Stück Cardstock wird, wie ihr am Foto sehen könnt, der Breite nach bei 19,5 cm gefalzt. Danach macht zu beiden Seiten dieser Falzlinie je 3 weitere Falzlinien im Abstand von 1 cm. Insgesamt habt ihr dann 7 Falzlinien.
***
Until the glue is dry we create the flap for closing the wallet. Take the piece of cardstock and score at 7 3/4" at the width side of your cardstock sheet. Than we make 3 more scoring lines at the left side and 3 more scoring lines at the right side of the first scoring line in a distance of 3/8". So you will get 7 lines at least as you can see on the pic.
Jetzt wird zuerst gefaltet wie am Foto zu sehen und dann in jede der so entstandenen Rillen ein Kuvert hinein geklebt. Nur in die mittleren Falten klebt ihr zwei Kuverts hinein. Der Kleber muss gut trocknen bevor wir weiter machen können, damit nichts verrutscht.
***
Now we have to fold a little bit as you can see on the photo and than stick one envelope in each of the folds. Just in the middle folds we have to stick two envelopes. The glue has to dry before we can start the next step as it could lost it's shape if it doesn't.
Danach sieht das so aus.
***
After it it looks like this.
Im nächsten Schritt werden die Kuverts aneinander geklebt. Dabei nicht die ganze Seite des Kuverts mit Kleber bestreichen sondern nur in der Mitte jedes Kuverts einen breiten Balken Kleber aufbringen.
***
It's time to stick the envelopes together. Don't put glue all over the envelope. Just stick them together on the middle part of it!
Das sieht dann so aus!
***
This looks like this now!
Jetzt wird noch außen das Band zum Verschließen angebracht. Genau so gut könnt ihr aber auch einen Klettverschluss oder einen Magneten verwenden. Die Grundform ist jetzt fertig! Ihr müsst nur noch verzieren.
***
You can now use the ribbon to create the fastener. But you also can use a magnet or velco fastener for it. Ready to decorate!
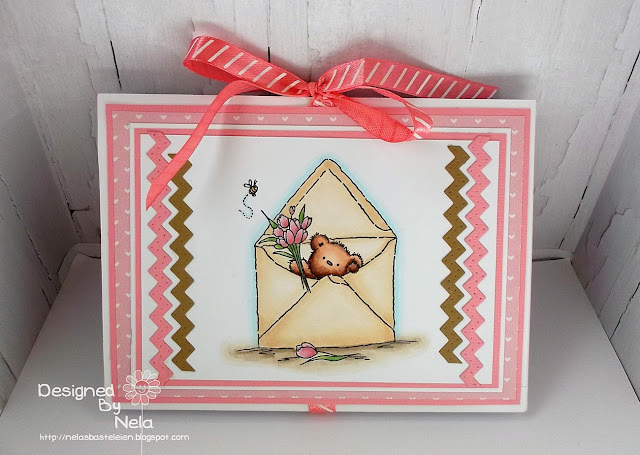
Wie immer haben wir hier noch die Mäppchen unserer Designerinnen:
***
These are the wallets from our designers:


1 Kommentare:
Love it!
gorgeous project!
Kommentar veröffentlichen