


Easel Box Adventskranz für die Hosentasche - pocket xmas wreath
Samstag, 4. November 2017
Hallo Ihr Lieben ,
so langsam geht es mit riesen Schritten Richtung Weihnachten. Dazu haben wir euch heute einen "Easel-Box Adventskranz für die Hosentasche" mitgebracht.
***
Hello everyone,
We're on our way towards Christmas... therefor we have an "Easel-Box xmas wreath for your pocket" for you today.

Ihr braucht:
- einen Cardstock eurer Wahl
- ein kleines Stück Designpapier
- ein Stückchen Band
- eine Musterklammer
- ein Eyelets
- eine Lochzange
- 4 kleine Geburtstagskerzen
- evtl. Streichhölzer
***
You need:
- cardstock of your choice
- a small piece of designer's paper
- a little bit of tape
- 1 brad
- an eyelet
- punching pliers
- 4 small birthday candles
- matches
Für alle Silhouette Nutzer haben wir auch wieder eine Schneidedatei.
***
For all Silhouette users we also have a cutting file.
So, dann fangen wir mal an:
***
So let's get started:

Als erstes schneidet ihr aus dem Cardstock einen 16,2 cm x 7 cm langen Streifen. Den falzt ihr bei 1cm / 1,6cm / 6cm / 1,6cm / und 6cm.
***
First cut a 16,2 cm x 7 cm long strip from cardstock. Then score at 1cm / 1.6cm / 6cm / 1.6cm / and 6cm.

Als nächstes schneidet ihr ein 11,9 cm x 13 cm Rechteck zu. Dieses faltet ihr rund herum bei 1,5 cm und 3 cm...
***
Next cut a rectangle measuring 11.9 cm x 13 cm. Score this at 1.5cm and 3 cm at each side...
Next cut a rectangle measuring 11.9 cm x 13 cm. Score this at 1.5cm and 3 cm at each side...

und schneidet es so zurecht. Die Löcher macht ihr bitte noch nicht rein!
***
***
and cut it like shown on the picture. Please don't make the holes yet!

Nun brauchen wir noch einen 14 cm x 6 cm langen Streifen den ihr bei 7 cm und 3,5 cm falzt. Und ein 6 cm x 7 cm Rechteck auf das nachher euer Motiv kommt.
***
Now we need a 14 cm x 6 cm long strip of cardstock, score at 7 cm and 3.5 cm. We also need a rectangle measuring 6 cm x 7 cm were you will add your image later.
,
,

Bei der Schubladen-Box faltet ihr die jeweils 1,5 cm breiten Laschen nach innen und klebt sie fest.
***
At the drawer box fold the 1.5cm wide tabs inwards and glue them down firmly.

Jetzt macht ihr mittig auf der schmalen Seite ein Loch.
***
Now punch a hole in the middle of the front.

Nun kommt das Eyelet und die Musterklammer zum Einsatz. Steckt das Brad durch das Eyelet und macht daraus einen Knauf.
***
Now the eyelet and the brad are used. Put the brad through the eyelet and put both in the hole in the drawer to create a knob.

Fertig ist die Schublade.
***
The drawer is done.

Als nächstes klebt ihr wie hier auf dem Bild das 14 cm x 6 cm lange Stück hochkant auf das 16,2 cm x 7 cm lange Stück. Dabei sind die 2 kleineren Falzungen von 1 cm und 1,6 cm auf der linken Seite.
***
Next glue the 14 cm x 6 cm long piece of cardstock onto the 16.2 cm x 7 cm long piece as shown in the picture. Make sure the two smaller folds of 1 cm and 1.6 cm are on the left side.

Nun klebt ihr ein ca 5,7 cm x 6,7 cm Desingpapier auf.
***
Now add a piece of designer's paper (5.7 cm x 6,7 cm) to the cardstock.

Aus
einem Reststück Cardstock in passender Farbe schneidet ihr nun mit
Hilfe von zwei runden Stanzen einen kleinen Kreis aus. Ich habe dafür
die 2 kleinsten runden Dies von Spellbinders genommen. Klebt diesen Kreis bis fast an den unteren Rand.
***
Now cut a small ring from cardstock in a matching color. I used the 2 smallest circle dies from Spellbinders here. Glue the ring nearly to the bottom edge of the designer's paper.

Macht
mit der Lochzange 4 große Löcher rein... die Größe muss zu euren
Geburtstagskerzen passen. Wenn nicht dann spitzt ihr eure Kerzen ein
wenig an.
***
Use a small circle punch to punch 4 holes... The size must match your birthday candles. If you don't have a matching punch simply point the bottom of your candles a bit.
Oben
am Kreis bringt ihr etwas Deko an, z. B. ein paar Blätter, Blümchen usw.
achtet aber darauf dass sie etwas abstehen, da dort nachher die Easel
Karte halt findet.
***
Add some decorations like a few leaves, flowers etc. to the top of the circle. Make sure they stand up a bit because they will stop the easel flap and hold it standing.

An dem 1 cm breiten Seitenstreifen klebt ihr nun die Schublade zusammen.
***
Add some glue to the 1 cm side strip to glue the drawer together.

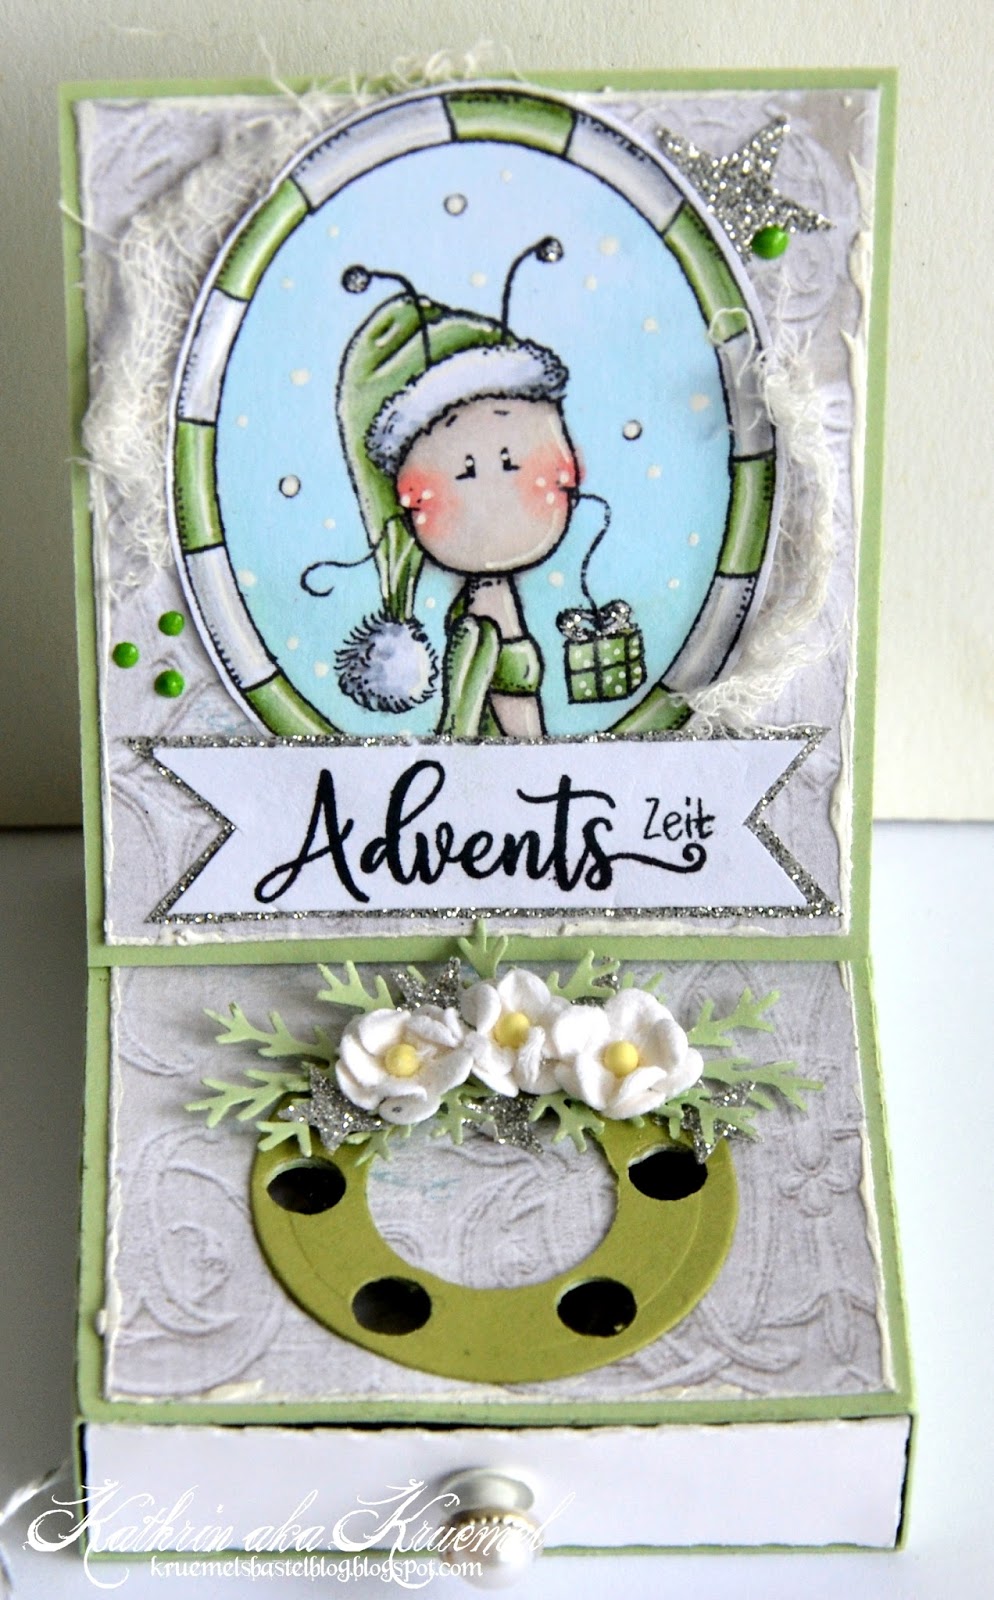
Und schiebt die Box in die Schublade. Ein Motiv das ihr coloriert habt, klebt ihr auf das 6 cm x 7 cm große Rechteck und dieses wiederum an die Easel Lasche.
***
Push the drawer into the box. Add a colored image to the 6 cm x 7 cm rectangle and glue this piece to the easel flap.
Push the drawer into the box. Add a colored image to the 6 cm x 7 cm rectangle and glue this piece to the easel flap.

Ich
habe mir am Computer ein paar Lied-Texte in mini Schrift
zusammengestellt und ausgedruckt. Die Geburtstagskerzen habe ich etwas
gekürzt und aus einer Streichholzschachtel habe ich die Reibefläche
abgeschnitten und dazu gelegt.
***
I have printed a
few christmas lyrics with my computer in very small size. I've also shortened the candles a bit. To light up the matches I've cut off the grating surface from a match box and put it into the drawer as well.


Den Text für die Adventskranz für die Hosentasche habe ich auch am
Comuter geschrieben und ausgedruckt. Ein Band in passender Größe
zugeschnitten und zusammen geklebt.
***
The text "advent wreath for the pocket" was also printed with my home printer. I've cut some ribbon to the right size and glued the ends together, with the label attached. This will hold the easel closed.

Hier sind meine Adventskranz für die Hosentasche... einmal geschlossen...
***
Here are my xmas wreath for the pocket ... once closed...

... und geöffnet.
***
... and opened.
Achtung: Den Adventskranz niemals ohne Beaufsichtigung brennen lassen.
*** Caution: Never let the candles burn without supervision.
Und hier sind noch die tollen Arbeiten vom Rest des Teams:
***
And here are the great works from the rest of the team:


3 Kommentare:
Ach wie herrlich sind denn die!!!
Klasse Idee und soooooooooooooo schön haben Sie alle umgesetzt.
GLG Ines♥
Lieben Dank für diese niedliche Idee, allesamt schöne Boxen! Danke auch für die Datei, wird ausprobiert.
LG Bärbel
Eine entzücken de Idee!Danke!Freu!
GLG MSBine
Kommentar veröffentlichen