Es ist wieder Samstag und wir haben natürlich eine neue Ausgabe vom Stempeleinmaleins für euch. Heute ist die liebe
Jacqui Dennis von Cats Whiskers aus England unser Gast und zeigt uns wie man mit Copics/ Promarkern in Kombination mit Polychromos/Prismacolor Stiften + Terpentinersatz coloriert.
***
It's Saturday again and we are back with a new issue of Stempeleinmaleins for you. Today the lovely Jacqui Dennis from Cats Whiskers (UK) is our guest and telling us how to color with Copics/Promarkers in combination with Polychromo/Primascolor pencils + white spirit.
ES GIBT EINE REGEL, WENN IHR ZWEI MEDIEN MITEINANDER KOMBINIERT - NUTZT DIE BUNTSTIFTE FÜR DIE SCHATTENSETZUNG ERST NACHDEM IHR DAS MOTIV MIT COPICS COLORIERT HABT, ANDERNFALLS KÖNNT IHR EUCH DIE MARKER RUINIEREN, WENN IHR MIT DER SPITZE MIT DER FARBE DER STIFTE BZW. DEM TERPENTINERSATZ IN BERÜHRUNG KOMMT.
***
THERE IS ONE RULE WHEN COMBINING THE TWO MEDIUMS – THE PENCILS MUST BE USED AFTER YOU HAVE DONE ALL YOUR COLOURING WITH THE COPICS, IT WILL COMPLETELY RUIN YOUR MARKERS IF THE NIBS COME INTO CONTACT WITH THE PENCILS OR THE SANSODOR.
Wenn ihr James den Bären von Lili of the Valley oder ein anderes niedliches Motiv coloriert, startet mit Copic E53 und malt die Farbe, wie in Bild 1 zu sehen, zuerst unter den Fellrand und an die Seite des Kopfes. Im zweiten Schritt malt ihr mit E51 weiter und blendet (verwischt) die Fläche, die ihr vorher mit E53 bemalt habt. Im dritten Schritt nehmt ihr E50 und vermalt die gesamte Fläche. Natürlich funktioniert das auch mit Promarkern.
***
To start colouring James the bear from Lili of the Valley or other cute images apply Copic E53 around the hate and side of face as shown in picture 1, then add E51 to bring the colour further out into the face making sure you also blend in E53 picture 2, finally using E50 go over the whole face blending in the 2 previous colours – picture 3. Of course this is also working with Promarker.
Coloriert auch den Rest des Fells nach dem oben genannten Prinzip.
***
Using the same colours and method colour the rest of the fur as below.
Für die Mütze und die Geschenke nehmt ihr R08 und malt die Farbe um die Ränder der Geschenke und James Mütze (Foto 1). Nun vermalt ihr mit der gleichen Methode wie schon zuvor die Farben, erst mit R02 (Bild 2) und dann mit R000 (Bild 3).
***
Now for the Hat and Presents using R08 colour around the edges of the present and James Hat – picture 1, using the same method as for the fur now add R02 – picture 2, and finally add R000 – picture 3.
Zum Schluss müsst ihr noch die restlichen Geschenke, den Fuß und das Ohr colorieren. Für die restlichen Geschenke/Schleifenbänder nehmt ihr zuerst BG13, für den Fuß und das Ohr R02 (Bild 1). Vermalt sind die Flächen danach mit BG11 (Geschenke) und R000 (Füße und Ohr), wie ihr dem zweiten Bild entnehmen könnt. Das letzte zum vermalen verwendete Blau ist BG10. Nun habt ihr die Markercoloration abgeschlossen und es geht an den letzten Schliff.
***
The last step is adding the final colour to the present and his foot and ear. BG13 has been used for the first step in colouring the blue present & ribbon, and R02 for the foot and ears – picture 1, the next blue to be added is BG11 & R000 is added to the rest of the foot and ears – picture 2. The last blue is BG10. You have now finished colouring James with the Copics and we will go on to the final step.
Jetzt werden die Schatten mit den Buntstiften gesetzt. Ich habe die Linien extra etwas dicker aufgetragen, damit ihr sie in der Anleitung besser sehen könnt. Malt eine dünne Linie mit einem SCHWARZEN Polychromo oder Prismacolor Stift auf die roten Flächen (Mütze und Geschenke), wie in Bild 1 zu sehen. Jetzt dippt ihr euren Papierwischer in den Terpentinersatz und vermalt den schwarzen Schatten in kreisenden Bewegungen damit (die Farbe ins Motiv ziehen). Für den Schatten des Fells nehmt ihr einen dunkelbraunen Stift und setzt eure Schatten damit (Bild 2) und vermalt diese danach wieder mit einem getränkten Papierwischer (Bild 3).
***
Now to add the deep shadows with the Pencils. The lines of pencil are a bit thicker than I would usually make them but this is try to make them easier for you to see. Add a thin line of BLACK Polychromo or Prismacolor pencil around the edges of the red hat and present – picture 1, then dipping the end of your stump into the sansodor, use the wet stump and small circular motions move the pencil out into the image – picture 2, then add dark brown pencil around the edges of fur picture 2, to complete blend out the brown as before – picture 3.

Hier seht ihr das Motiv fertig coloriert.
***
Here is the image with all the steps completed.

Und hier ist die fertige Karte gemacht aus Bo-Bunny Papieren, Martha Stewart Schneeflocken und mit Glamour Dust beglitzert.
***
The final card has been made with Bo-Bunny Papers and Snowflakes punched with Martha Stewart Snowflakes Punches and glittered with Glamour Dust.
Hugs
Jacqui xx
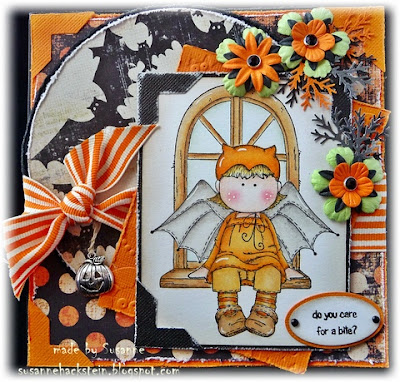
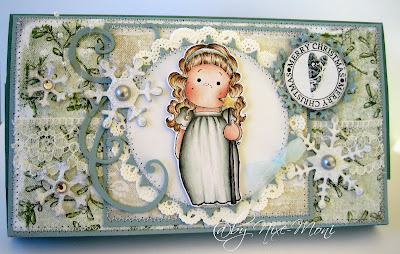
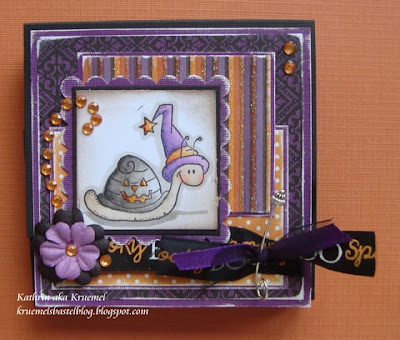
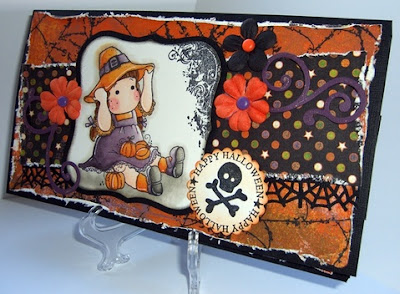
Hier sind noch einige weitere wunderschöne Beispielkarten:
***
Here are some more beautiful sample cards:
Read more...


